
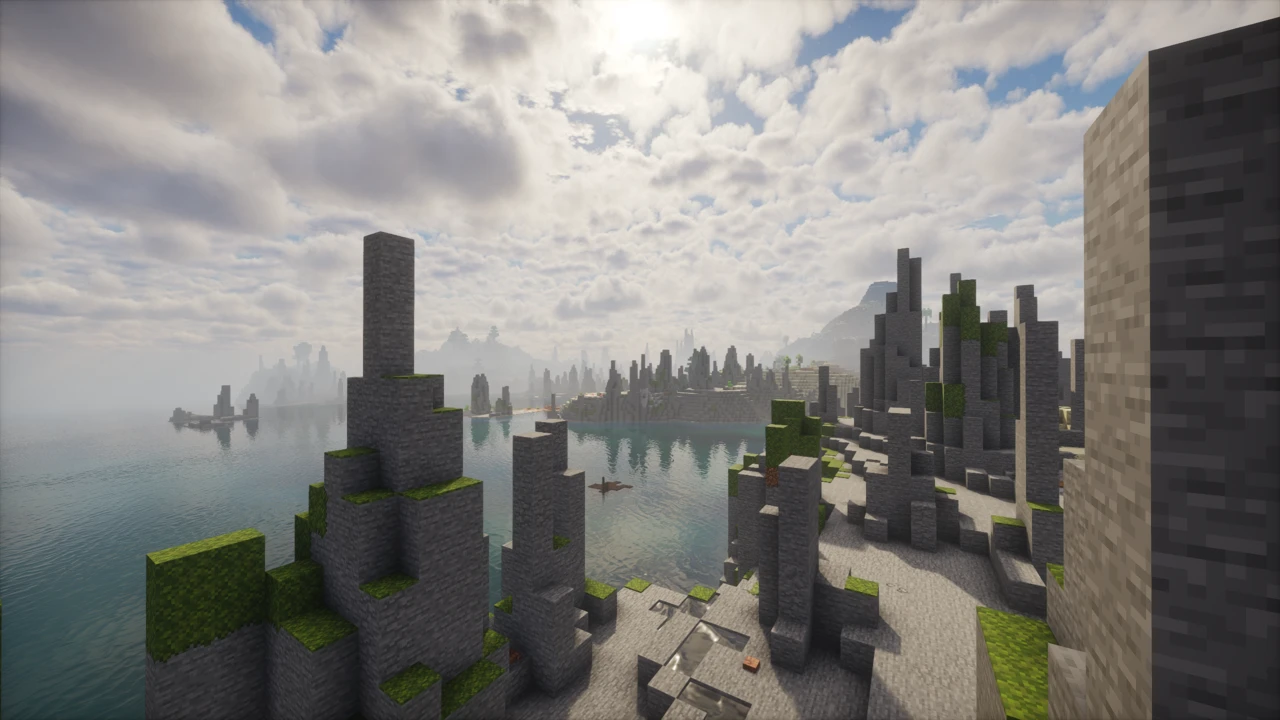
Working out how to fix Minecraft shaders not working is a process of elimination rather than luck. Failures trace back to a short list of causes: the wrong launcher profile, a version mismatch between Minecraft and your shader loader, a pack in the wrong place or the wrong form, the wrong GPU rendering the game, a conflicting mod, or hardware asked for too much. Each leaves a different symptom, so working out which one you have narrows the job a lot. Everything here is Java Edition.
Before you start
Have these to hand
- Your exact Minecraft version. Nearly every question below depends on it.
- Which shader loader you use. Iris, usually alongside Sodium, or OptiFine.
- The shaderpack's project page, which lists the versions and loaders it supports.
- A clear symptom. A missing menu, a missing pack, a black screen and low frame rate are four different problems.
Quick fixes to try first
- Launch the right profile. Shader menus exist only on the Iris or OptiFine profile.
- Check the versions line up. Minecraft, the loader build and the pack all have to agree.
- Open the shaderpacks folder from inside the game rather than guessing.
- Leave the pack as a
.zipunless its own instructions say otherwise. - Test a second, well established pack. If the world changes, your setup is fine and the first pack is not.
- Check which GPU Minecraft is using. On a laptop it is often the integrated one.
Check your shader loader and profile
Java Edition needs a mod that reads shaderpacks. Iris is the modern choice for many current Java setups. It loads OptiFine-format shaderpacks and is commonly paired with Sodium for rendering performance, and it covers Minecraft 1.16.5 and newer on Fabric, plus NeoForge from 1.21.1 onward. OptiFine is the older single-mod route, still used on legacy versions and packs written for it. Never run the two together, and if you have neither, our shader installation guide covers the setup.
Forge and NeoForge packs sometimes use Oculus instead, which fills the same role alongside its own rendering mod. Whichever combination you run, every piece has to match your Minecraft version.
No Shaders or Shader Packs entry in Video Settings means nothing shader-capable has loaded. Three things to check.
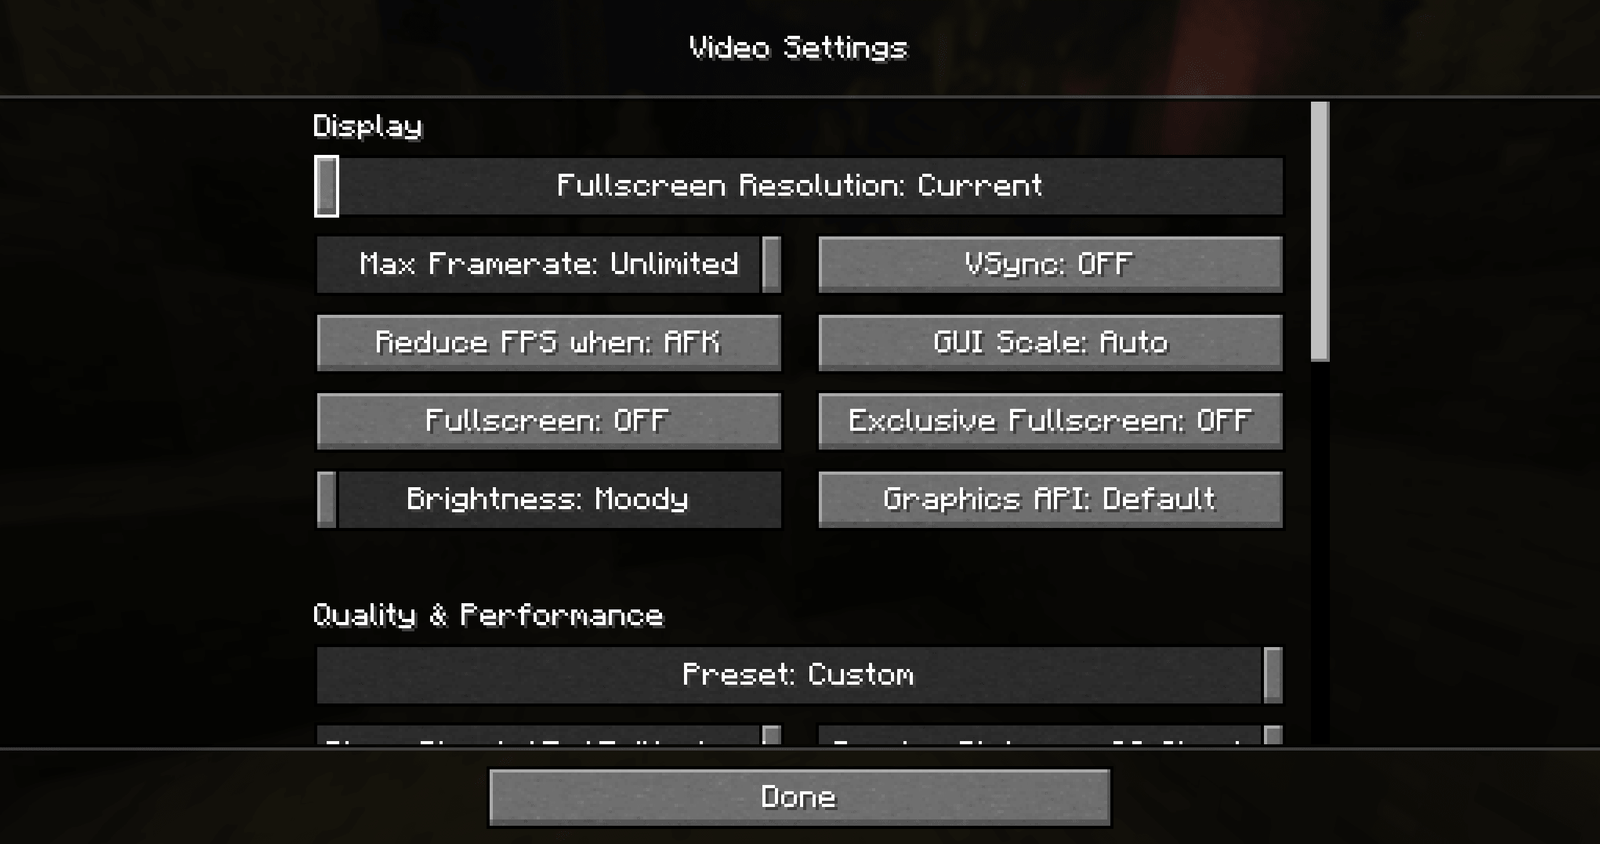
- The launcher profile. Iris and OptiFine each create their own, while the plain version number launches vanilla.
- Whether the loader installed. Iris and Sodium appear in the mods list, and OptiFine on the title screen.
- The instance. Prism, Modrinth and CurseForge keep separate mods folders, so installing into one and playing another is easy.
Previews arrive ahead of the stable release for a new Minecraft version, and have historically shipped with shader support incomplete or switched off. If the Shaders button is missing or greyed out on one, read that build's changelog first.
Match Minecraft, your loader and your pack
Three moving parts have to agree, and a mismatch anywhere looks like a broken installation. Your loader build is compiled for one Minecraft version, and your pack lists its supported versions and loaders on its download page. Some also state a minimum Iris version, which matters when a new pack meets an old loader.
Two familiar symptoms come out of this. When only some packs work, the loader is rarely at fault. The failing ones are outside their supported range or built for the other loader. Shaders that stopped at an update mean Minecraft has moved ahead of your loader or pack.
Fix shader packs that are not showing up
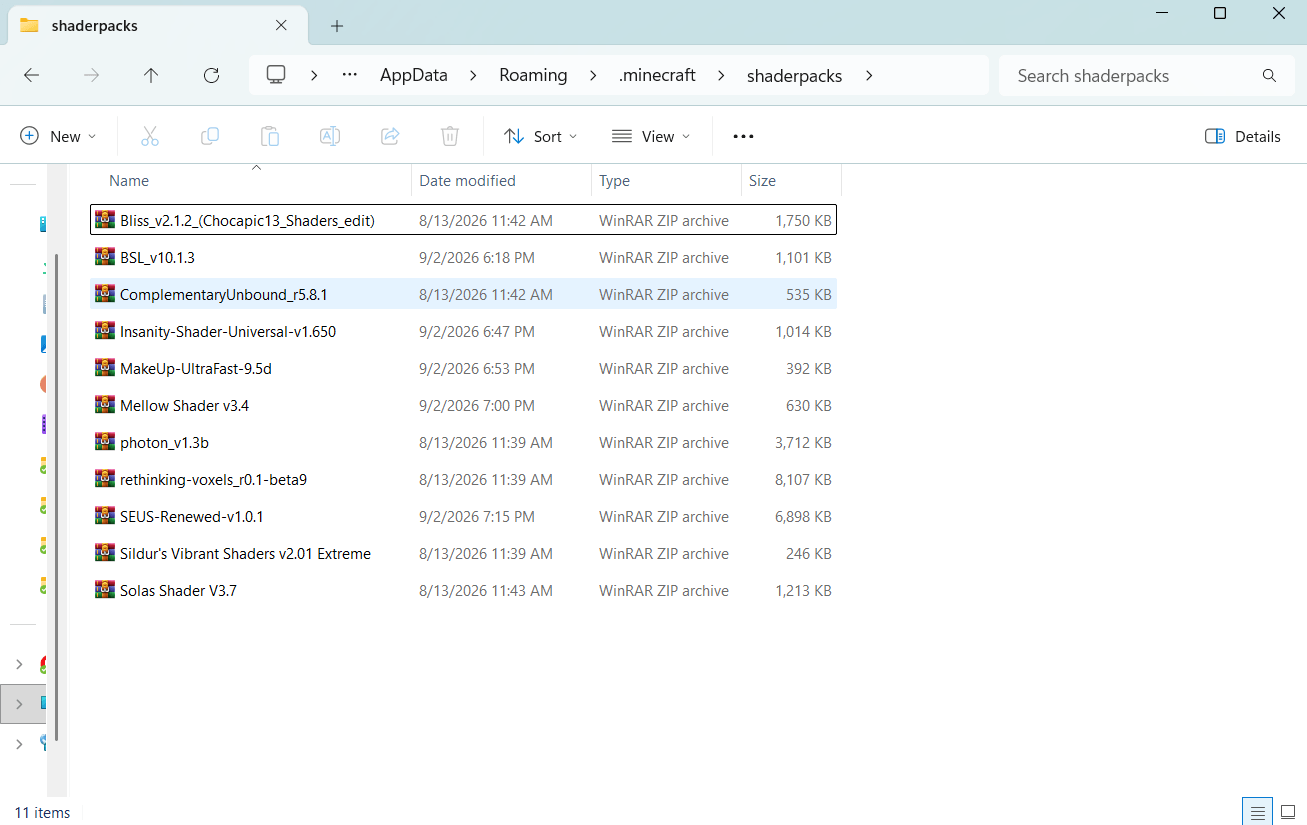
A pack that never appears is almost always misplaced, not broken.
Open the folder from inside Minecraft
Video Settings, then Shader Packs or Shaders, then the folder button. It opens the directory this installation reads.
Confirm the pack sits there directly
Not in mods, not in resourcepacks, and not inside a subfolder.
Check the file is still a .zip
Some browsers unpack archives on download, and a partial download is skipped silently. Re-download if either looks likely.
Older guides tell everyone to extract the archive first. Iris and OptiFine read the .zip as it is, so there is normally nothing to unpack. If you do extract one, the loader expects the pack's shaders folder directly inside it, and one extra folder level in between is enough to hide the pack.
The pack is listed but nothing changes
Make sure you actually applied the pack rather than only highlighting it, and that the entry selected is the pack rather than the internal or default option. Check the profile too: a vanilla session cannot render a shaderpack whatever sits in the folder.
If that looks right, suspect the pack and try a widely supported one instead. Complementary, Sildur's and MakeUp Ultra Fast are common choices here, though confirm the build supports your version.
Fix a black screen or a crash when shaders turn on
These share most of their causes: a pack outside its supported range, an unstable graphics driver, a pack demanding more than the GPU has, or a mod fighting over rendering. Isolate rather than guess.
- Switch to a light, well supported pack. A clean render points at the original pack.
- Drop the pack to its lowest preset and cut render distance.
- Update the graphics driver, or roll it back if trouble started with an update.
- Disable other visual and rendering mods, then re-enable a few at a time.
- Confirm the loader build matches your Minecraft version.
More memory is not a general answer here. It helps only when the logs show an out-of-memory error, and even then a sensible allocation beats a large one.
Make sure Minecraft is using the right GPU
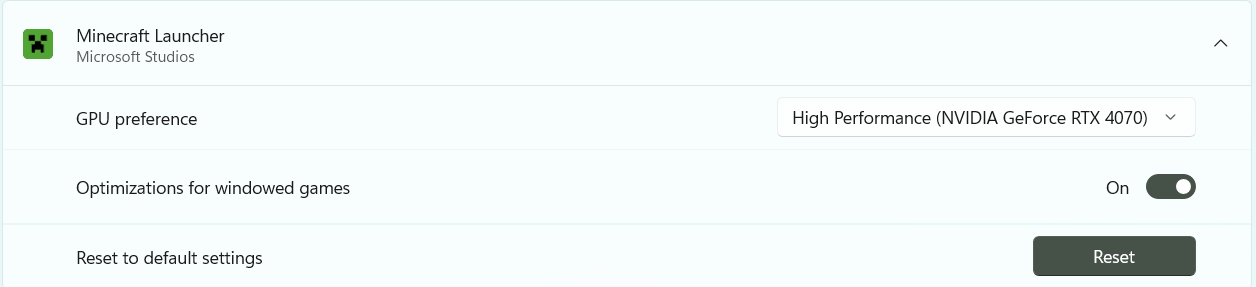
On a laptop with integrated and dedicated graphics, Windows can hand Minecraft to the integrated chip. Shaders then run far below what the machine can manage, and demanding packs may fail.
On Windows 11, open Settings, then System, then Display, then Graphics. Add the Minecraft launcher or the javaw.exe your instance uses, open its Options and set High performance. To confirm, add the GPU engine column to Task Manager's Details view and see which adapter the Java process draws on. On a desktop, check the monitor cable runs to the graphics card.
Fix low frame rate and stuttering
Shaders that render correctly but run badly are a different problem with different fixes. They replace flat vanilla lighting with shadows, reflections and fog recalculated every frame, so some drop is expected. Work down the list, since the early items cost the most.
- Shader preset. Start at the pack's lowest and climb, rather than tuning single options.
- Shadow resolution and distance. Usually the most expensive setting a pack exposes.
- Volumetric lighting, fog and clouds. Costly for how subtle they are.
- Render distance, then simulation distance. Shaders multiply the cost of every chunk.
- High-resolution texture packs. They add to video memory pressure.
If Minecraft already ran badly without shaders, fix that base problem first. A rendering mod such as Sodium raises the baseline before you add shader workload on top.
Rule out mod and resource pack conflicts
Mods that draw their own sky, custom lighting or screen effects can break a shader pipeline, and motion blur mods in particular have caused black screens under Iris. Rather than memorise a list of culprits, find yours by elimination, pulling mods out and putting them back. Our mod installation guide covers doing that cleanly.
- Test your loader and one known-good shader with no other mods present.
- When that renders, add mods back in halves until the failure returns.
- Check the culprit's config before removing it. Some can disable their rendering overrides.
- Turn off resource packs too, especially PBR packs, which look wrong under an unprepared shader.
Read the logs and build a clean test profile
When the visible symptoms run out, the game has been writing down what happened. Open .minecraft/logs/latest.log, or .minecraft/crash-reports if it closed on its own. Search for invalid program and shader for compilation failures, enableShaders for a config flag that switched shaders off, OutOfMemoryError for a memory ceiling, and your mod names near errors. Skip the stack traces: the first line naming a file or a mod is usually enough to quote when asking for help.
The last diagnostic is a clean profile: a fresh instance with your Minecraft version, Iris and Sodium or OptiFine, one supported pack, and nothing else. Nothing needs deleting. Shaders that work there put the fault in your original setup. Shaders that still fail point at versions, drivers or hardware instead.
FAQ
Do I need OptiFine to use Minecraft shaders?
No. Iris loads OptiFine-format shaderpacks and is the usual choice on current versions. Never install both.
Why don't I see the Shaders option in Minecraft?
Usually the vanilla profile rather than the Iris or OptiFine one, or a loader in a different instance.
Where do I put Minecraft shader packs?
In shaderpacks, not mods or resourcepacks. The shader menu's folder button opens the right one.
Should I unzip Minecraft shader packs?
No. Leave the .zip intact unless the pack's instructions say otherwise.
Why does Minecraft show a black screen with shaders?
Most often a version mismatch, a driver problem, a conflicting mod, or a pack too demanding for the GPU.
Why does Minecraft crash when I enable shaders?
Check the loader build matches your version and that the pack supports both, then look at mod conflicts and drivers.
Can I use shaders with Iris and Sodium?
Yes, that is the standard modern setup. Iris provides shader support, Sodium handles rendering performance.
Can my PC run Minecraft shaders?
Probably, though not every pack at every setting. A dedicated GPU with reasonable video memory is what matters.