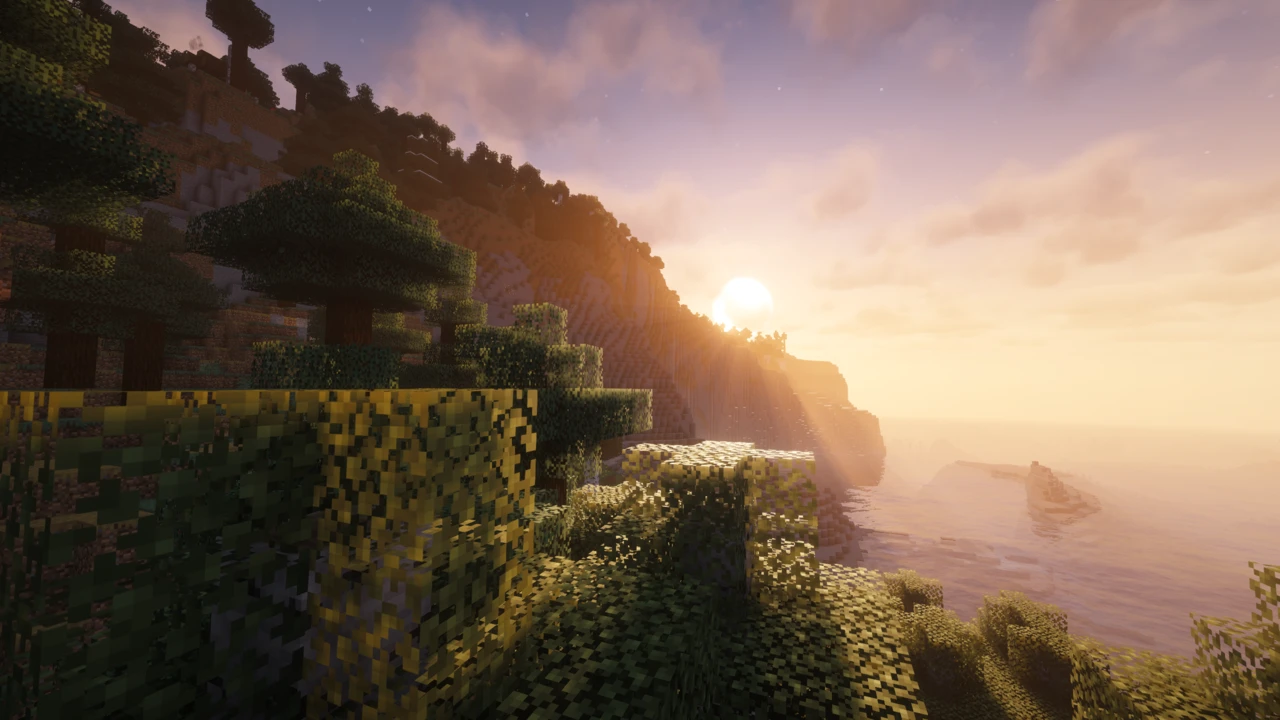
About Bliss Shaders
Bliss Shaders is a fantasy-styled pack for Minecraft: Java Edition by Xonk___, grown out of Chocapic13's V9 shaders into something with its own priorities. The one the author keeps returning to is variation: the aim, in their own words, is a scene where the lighting is not always the same whenever or wherever you are.
It is also a pack where the file you download matters more than usual. Bliss runs three parallel version tracks, and the most widely repeated advice about one of its headline features has been out of date for a while now.
Scene variation, and what it actually looks like
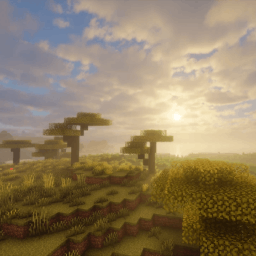
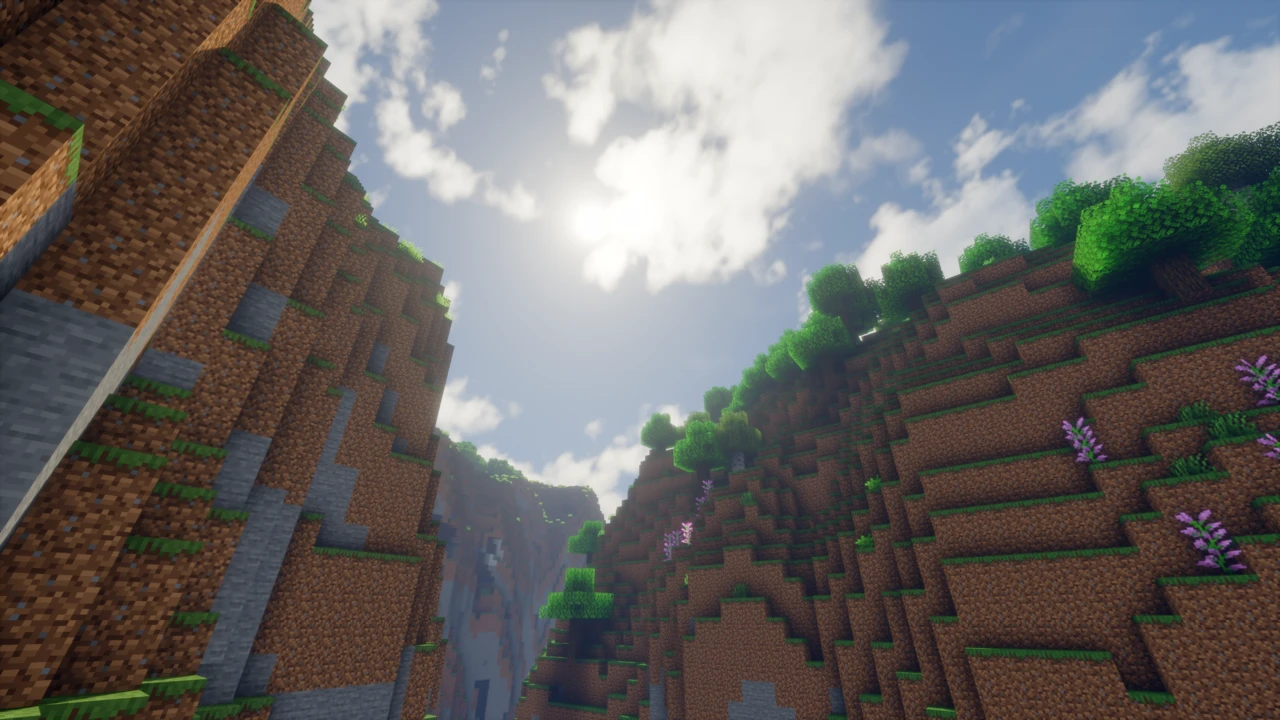
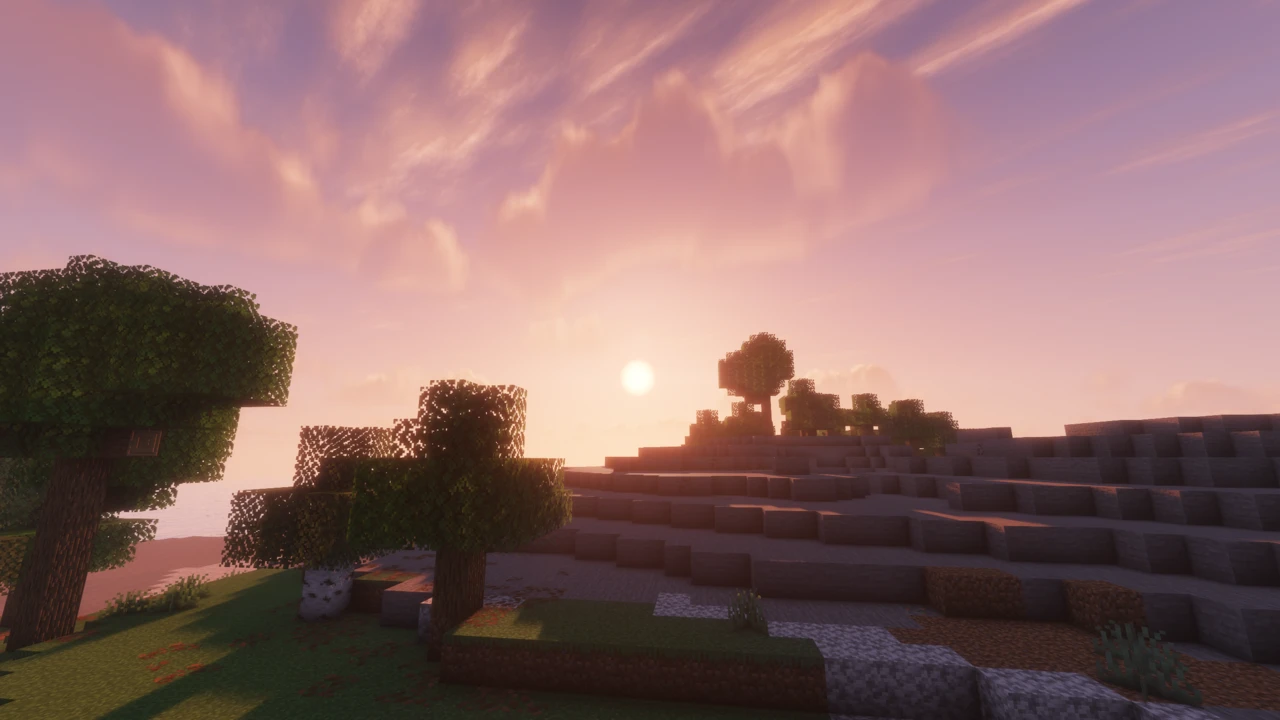
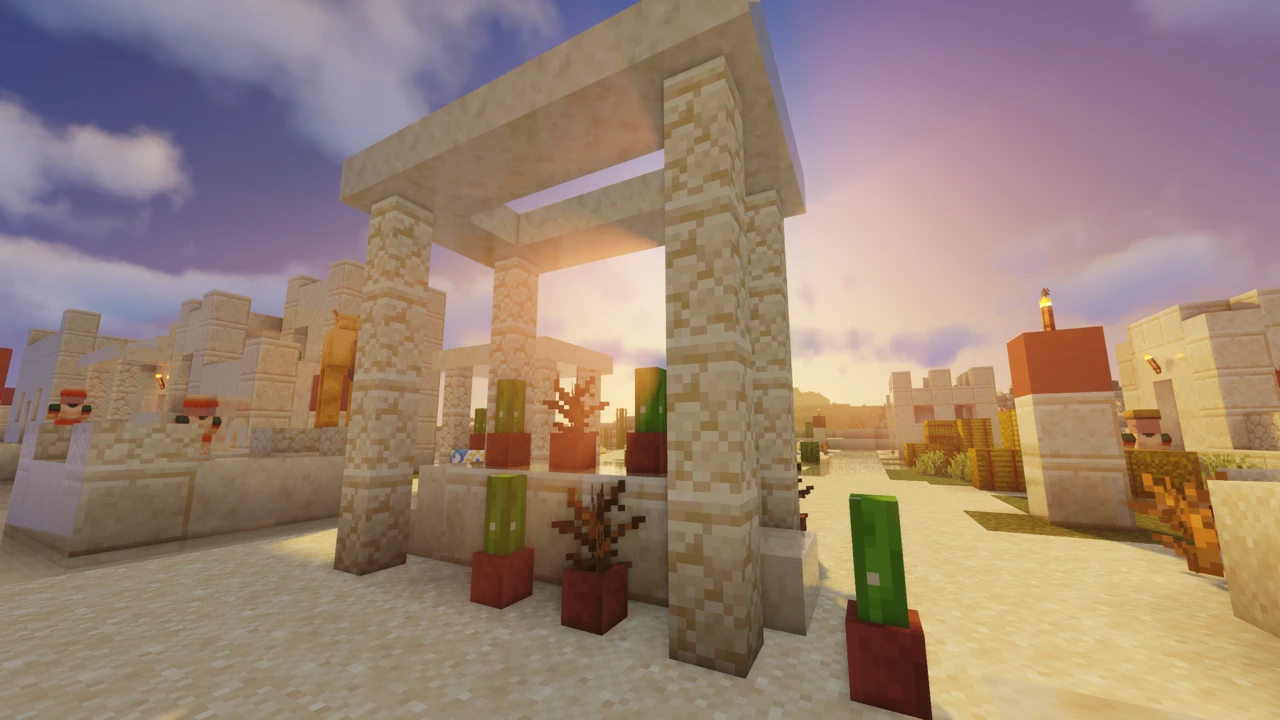
Most shaderpacks have a signature look you can identify from a screenshot. Bliss is built to resist that. Time of day, weather and biome are meant to pull the lighting in visibly different directions, so a wet afternoon in a swamp is not simply a dimmer version of a clear morning on a plain.
What that buys you is a world that keeps changing while you play in it, which suits long survival sessions more than it suits a single showcase shot. What it costs is predictability: if you want a look you can dial in once and forget, a pack with a stronger fixed identity will be less work.
The variation is not fixed in place either. Bliss leans heavily on its settings menu, and the author's stated shift was from adjusting the values Chocapic13 already exposed to adding new ones. Colored lighting is part of the current feature set, built on voxel floodfill work credited to a contributor rather than inherited from the base.
How much of this is Chocapic13?
The lineage is real and the project has never hidden it: the download is literally named for it, and the licence file in the repository still carries Chocapic13's copyright line. Bliss began as an edit of Chocapic13's V9.0 and V9.1.
Reducing it to that undersells what has happened since. The credits name separate contributors for a depth-of-field overhaul, the voxel colored lighting system, and fixes for light leaking through terrain, alongside ideas borrowed from other shader developers. That is a development history, not a settings tweak.
For anyone arriving from Chocapic13, the practical summary is that the rendering foundations will feel familiar while the visual intent has moved. The settings menu is the clearest evidence: it is where most of the independent work has gone.
Three download tracks, and which one you want
This trips people up, so it is worth being precise. The project publishes in three streams, and they are not equivalent:
- Release builds are the ones on Modrinth and CurseForge. They ship when the code is stable enough and has accumulated enough changes to be worth packaging.
- Stable builds live on a GitHub branch. Newer than Release, put out regularly for anyone who wants to test them, but not the bleeding edge.
- Unstable builds are the absolute latest, pushed frequently, and described by the author as likely to carry bugs or missing features.
Almost everyone wants Release. The GitHub branches exist for people who want to help find problems, and treating Unstable as "the newest and therefore best version" is how you end up debugging someone else's work in progress.
Distant Horizons: the advice you will find is out of date
Search for this and you will be told that Bliss release builds cannot shade Distant Horizons terrain and that you need an in-development build. That was true once. It is not true now, and following it means installing an unstable build for no reason.
Support arrived in version 2.1.0 and has been in every release since, including the current one. The versions that genuinely lack it are 2.0.3 and 2.0.4, which is unambiguous if you look: both are titled with a plain warning that they have no Distant Horizons support. Those old files are still downloadable, which is exactly how people end up with flat, unshaded land in the distance and blame the shader.
One requirement does hold regardless of version. Distant Horizons shading runs through Iris, which provides the dedicated programs a pack implements to draw LOD terrain, water and shadows. OptiFine has no equivalent, so an OptiFine setup will render the distant terrain unlit no matter which Bliss version you install.
PBR, and why it can look like nothing happened
LabPBR is officially supported, and the project lists specular reflections, subsurface scattering and displacement mapping as part of what that support covers. In practice this is the feature people most often think is broken when it is simply not switched on.
The reason is that a shader cannot invent material data. LabPBR packs ship extra maps describing how each surface should reflect light and how much depth it should appear to have, and the shader reads them. Install Bliss without such a resource pack and the material options in its settings have nothing to work with, so enabling them changes nothing visible.
So the order matters: get a LabPBR-format resource pack applied first, confirm it is active and sitting above other packs in your list, then go into the shader's material settings. If surfaces still look flat afterwards, the usual cause is a pack that only covers part of the block set rather than a fault in the shader.
Loaders, versions and the Apple caveat
Iris is what the project asks for. OptiFine is described more cautiously (it might work), and that qualification is the developer's, not a hedge added here. Given the Distant Horizons situation and where shader development has gone generally, Iris is the sensible default unless something else in your setup forces otherwise.
Installing Iris puts Sodium in your mods folder, and it is easy to read that as something Bliss asked for. It did not. Iris is built on Sodium and ships alongside it, so the pack inherits it either way.
The current release covers Minecraft 1.17 through 26.2, which is unusually wide and means one download rather than a build per version. The one platform caveat worth knowing before you commit: Apple hardware has limited support, which the project attributes to the OpenGL versions available there. AMD, Intel and Nvidia are the supported vendors.
The settings that cost you most
No benchmarks have been published for this pack, and the author's own description of it as well performing is a developer claim rather than a measurement. Its Modrinth listing carries low, medium and high performance-impact tags at once, which is a fair reflection of how much the settings change the answer.
When frames are short, work through the settings that increase how much of the scene is being drawn before you start switching features off. Shadow distance and resolution come first, because both decide how much geometry gets drawn a second time for the shadow pass. Internal resolution comes next and is the bluntest lever available. Only after those should you reach for individual effects like depth of field or colored lighting, which cost real time but also carry a lot of what the pack looks like.