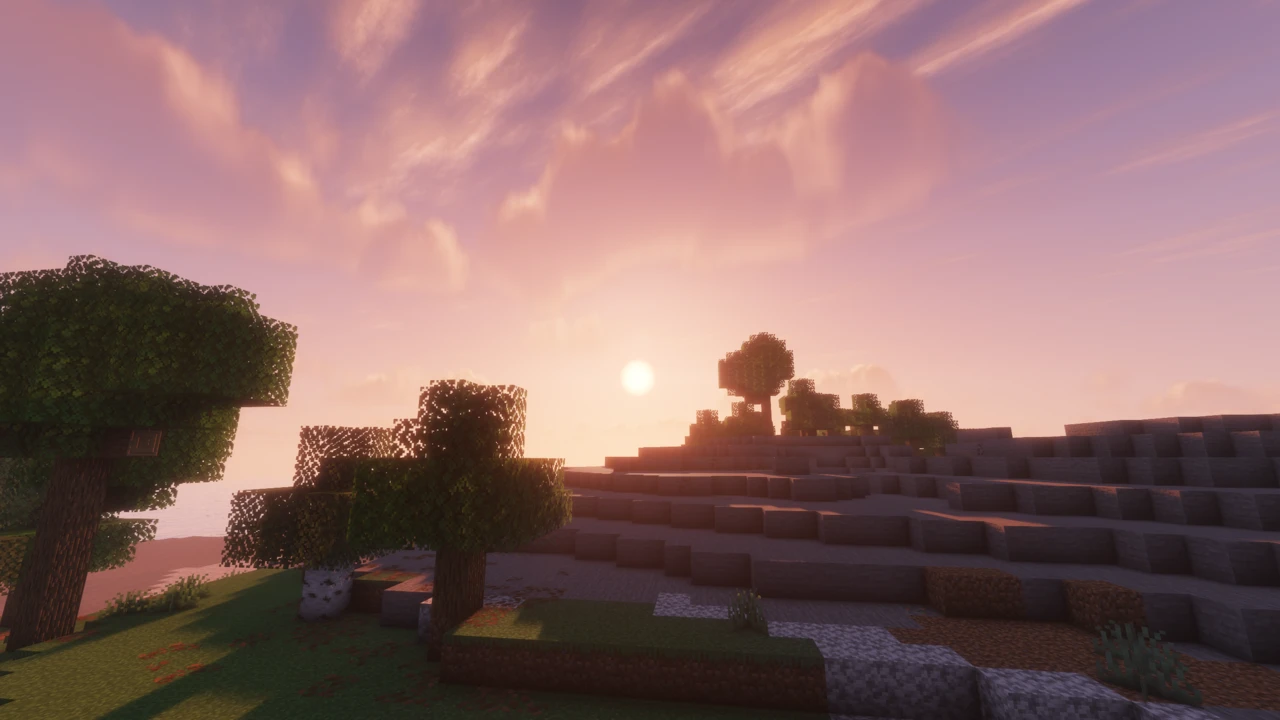
About Complementary Shaders
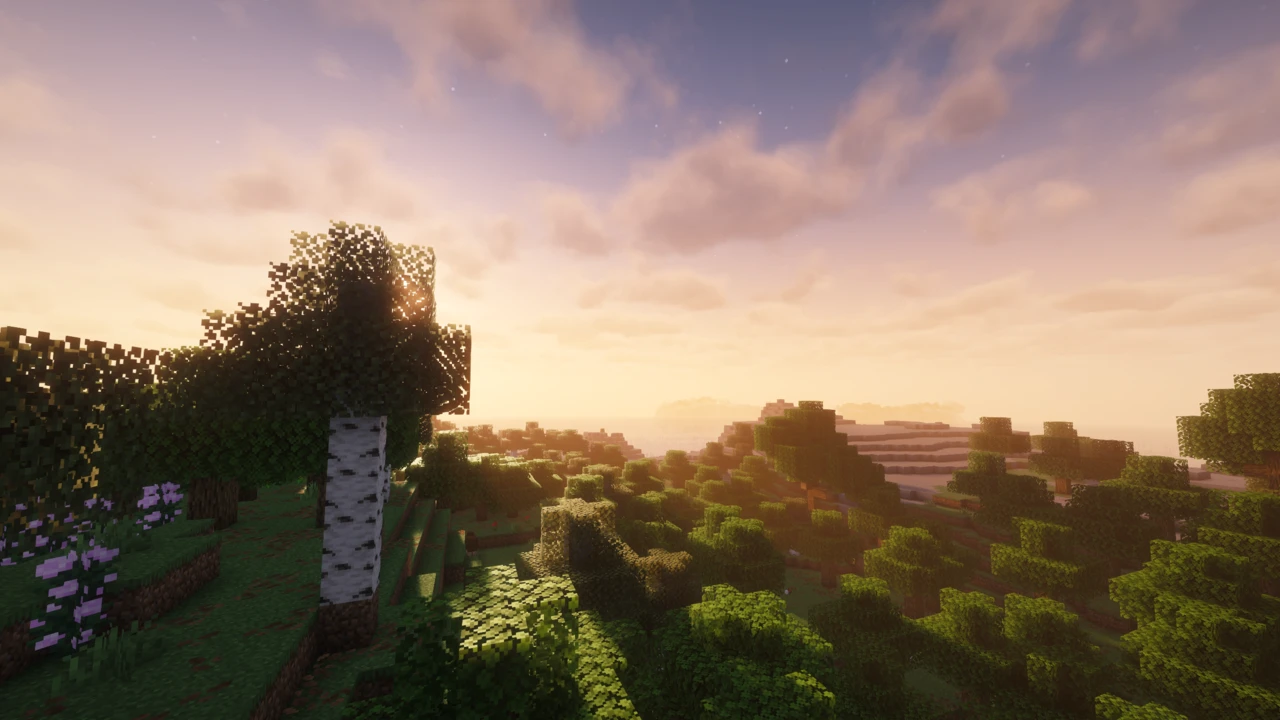
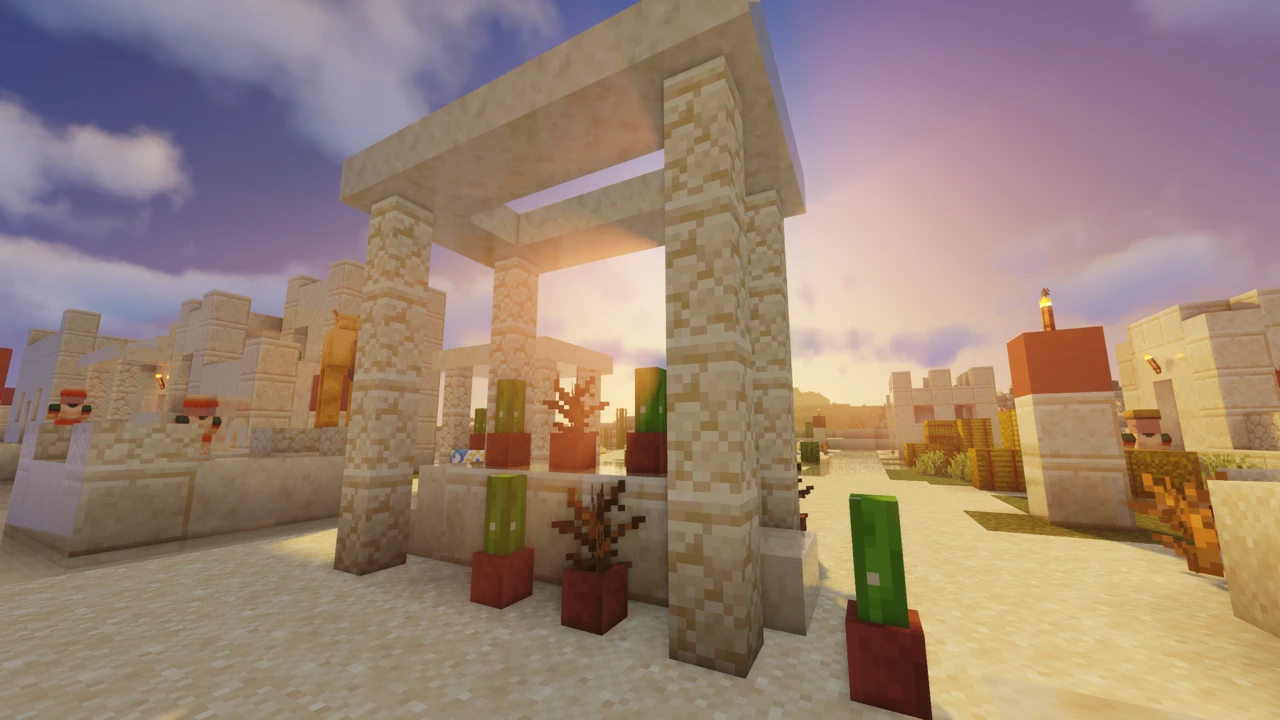
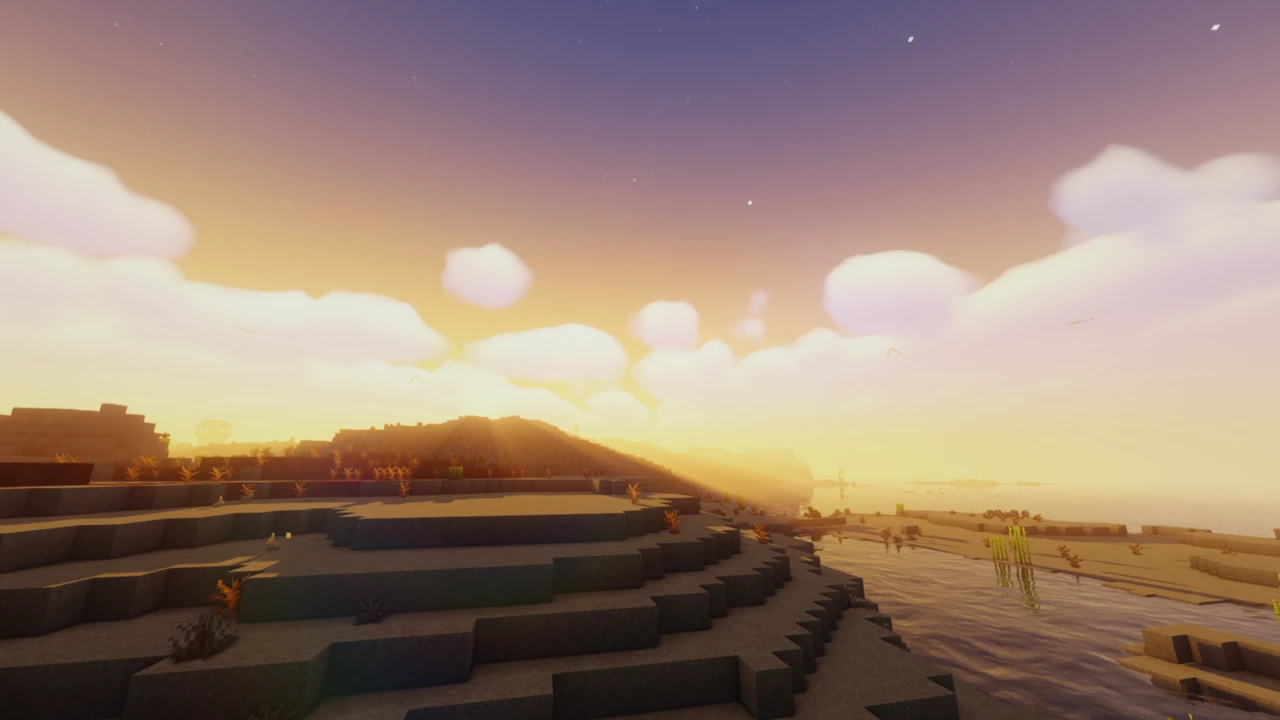
Complementary Shaders is one of the most widely used shader packs for Minecraft: Java Edition, developed by EminGT under the Complementary Development project. It handles the usual shader things (lighting, shadows, water, sky), but what sets it apart is how far the detail goes. There are custom effects written for almost every block in the game, not just the obvious ones.
It started life as an edit of BSL Shaders before being completely rewritten, and it's been updated regularly ever since based on community feedback.
The part that confuses most people is that Complementary comes in two versions: Reimagined and Unbound. Both are downloads you'll see listed separately, which makes them look like rival shader packs. They aren't.
Complementary Reimagined vs Unbound: What's the Difference?
Reimagined and Unbound are two styles of the same shader pack. Same engine, same effects, same options menu. The only thing separating them is which settings are switched on by default.
That's straight from the developer, and it matters more than it sounds. You're not choosing a feature set; you're choosing a starting point.
Unbound
Built for players who want Minecraft to look realistic. Realistic water, realistic clouds, a more grounded overall feel. If you've seen shader screenshots where Minecraft barely looks like Minecraft anymore, this is the style behind a lot of them.
Reimagined
Aimed at keeping Minecraft's own visual identity intact while making it look considerably better. The developer describes it as a reworked vanilla feel: blocky clouds stay blocky, and the game still reads as Minecraft. It's the style to pick if realistic shaders have always felt like they went too far for you.
Which one should you pick?
Go with Unbound if realism is the goal, Reimagined if you want vanilla-but-better. And if you pick wrong, it isn't a problem: every setting is available in Shader Options either way. You can turn on blocky clouds in Unbound, or switch Reimagined over to realistic water. The styles converge as soon as you start adjusting things.
What Complementary Shaders Actually Does
The feature list is long, but the parts you'll notice first:
- Lighting and shadows: including colored lighting, so light from stained glass and colored sources actually tints what it falls on
- Water: with its look varying significantly depending on your chosen style and settings
- Sky and clouds: realistic or blocky, depending how you've set it up
- Reflections: world-space reflections, plus player reflections added in a recent update
- Atmosphere and fog: light shafts, bloom, and fog balance that shifts with weather and time of day
- Per-block custom effects: the standout. Individual blocks get their own treatment rather than everything being handled by a few generic rules
Smaller touches turn up throughout: a mirror-like option for tinted glass, pixelated rainbows in the Reimagined style, chunk fade-in support, and various anti-aliasing options.
Customization and Shader Options
Complementary's settings menu is unusually deep. Nearly everything is exposed: individual effects, quality levels, colors, how strong a given feature is. It's all in Shader Options, reachable from the shader menu in your Video Settings.
This is why the Reimagined-vs-Unbound choice is less final than it looks. Both styles have access to exactly the same options.
Alongside the individual settings there are quality profiles: Potato, Low, Medium, High, and Ultra. These change a whole batch of settings at once, so you don't need to understand what every option does to get a sensible result. Pick a profile, see how it runs, adjust from there.
Performance and Profiles
Let's be straight about this: shaders don't make Minecraft faster. They replace the game's rendering with something far more demanding, so you'll get fewer frames than vanilla. That's true of every shader pack, Complementary included.
What Complementary does put effort into is optimization: the developer's stated goal is a pack that's never obstructive during gameplay. Combined with the profile range from Potato to Ultra, that gives you room to find a setting your machine can actually handle rather than an all-or-nothing choice.
The practical approach: start on a lower profile than you think you need. If it runs comfortably, move up. That's a lot less frustrating than starting at Ultra and trying to work out which of forty settings is killing your frame rate.
Running Sodium alongside it is common, since Iris ships with Sodium included. It won't cancel out the cost of shaders, but a more efficient renderer underneath doesn't hurt.
What You Need to Run Complementary Shaders
Shader setups involve a few separate pieces, and mixing up the terms is where most people get stuck. Here's the chain:
- Minecraft: Java Edition: Complementary is Java-only
- A mod loader: Fabric or NeoForge. This is what lets Minecraft run mods at all
- A shader loader: Iris or OptiFine. A mod that teaches Minecraft how to load shader packs
- The shader pack: Complementary itself
Iris and OptiFine are shader loaders, not mod loaders. That distinction trips up a lot of guides. Iris is a mod that runs on top of Fabric or NeoForge, while OptiFine is a standalone mod that includes shader support among its other features.
Complementary supports both. Iris is the path the developer points to now: the official installer bundles it, and the official setup instructions are written around it. OptiFine is still listed as supported and remains a practical option on many older Minecraft versions.
One more thing worth saying clearly: Complementary is a shader pack, not a mod. It goes in the shaderpacks folder, never in mods.
Supported Minecraft Versions
Complementary covers an unusually wide range of Minecraft versions, considerably wider than most actively developed shader packs. Builds are available for:
26.2, 26.1.x, 1.21.x, 1.20.x, 1.19.x, 1.18.x, 1.17.x, 1.16.x, 1.15.x, 1.14.x, 1.13.x, 1.12.x, 1.11.x, 1.10.x, 1.9.x, 1.8.x, and 1.7.10.
The current release supports Minecraft 26.2. If you're playing something older, there's very likely a build for it: older releases stay available on the official project pages, matched to the versions they were made for.
Where to Get Complementary Shaders Safely
Complementary is distributed through the official Complementary Development website at complementary.dev, and through the developer's official project pages on Modrinth and CurseForge. Those are the sources to use.
Shader packs attract a lot of copycat download sites, and some of them use names close enough to the real project to be genuinely misleading. Going through the official website or the linked project pages avoids the issue entirely.
How to Download Complementary Shaders for Minecraft
Two decisions before you download: which style you want, and which Minecraft version you're on.
Style: Unbound for a realistic look, Reimagined for a polished vanilla one. They're listed as separate downloads but they're the same pack with different defaults, so this isn't a decision you're stuck with. Pick whichever sounds closer to what you want.
Version: shader builds are tied to Minecraft versions. Check which version you're playing and pick the matching build. The current release targets Minecraft 26.2, and older builds remain available for older versions on the official project pages.
From there you have two routes:
- Manual download: open the Complementary Downloads section on this page and click Download on the Unbound or Reimagined row, which takes you to that file on Modrinth. You then install a shader loader yourself. Better if you already have Iris or OptiFine running, or you want control over what goes where.
- The Complementary Installer: the official installer from complementary.dev. It downloads and sets up Complementary along with the Iris shader loader in one go. Easiest option if you're starting from scratch.
How to Install Complementary Shaders in Minecraft
Using the Complementary Installer
The installer handles the shader loader and the shader pack together, which removes most of the steps below.
- Download the Complementary Installer from the official website.
- Run it. You need Java installed on your computer for this, and Minecraft's own bundled Java doesn't count. The official site points to java.com for the download if you don't have it.
- Choose your style, Unbound or Reimagined.
- Click Install. The installer sets up Iris along with the shader pack.
- Launch Minecraft through the resulting profile, then pick Complementary in the shader menu.
That Java requirement catches people out regularly. If the installer won't start, it's almost always this.
Installing manually with Iris
These are the official manual steps:
- Install the Iris mod so Minecraft can load shader packs. Iris runs on Fabric or NeoForge. If you've not installed a mod before, our guide to installing Minecraft mods covers that part.
- Launch the game and go to Video Settings → Shaderpacks (labelled Shaders in some setups).
- Click the button in that menu to open your
shaderpacks folder.
- Put the downloaded Complementary file into that folder. Don't unzip it: the pack is meant to stay as a single file.
- Go back into the game and select Complementary from the shader menu. If it isn't there, refresh the menu.
Installing with OptiFine
OptiFine also supports Complementary, and the process is much the same: install OptiFine, open Video Settings → Shaders, use the Shaders Folder button to open the folder, drop the pack in without unzipping it, and select it from the list.
Worth knowing before you go this route: OptiFine's support for the newest Minecraft versions tends to lag behind. If you're on a current release, check that an OptiFine build actually exists for your version first. Otherwise Iris is the more reliable choice. On older versions, OptiFine remains perfectly workable.
Changing settings and switching styles
Once the pack is selected, open Shader Options from the shader menu. Everything is in there: individual effects, colors, quality levels, and the Potato through Ultra profiles.
Because both styles share the same options, you can push either one toward the other without downloading anything new. Set Unbound to blocky clouds, or give Reimagined realistic water. If you'd rather start clean from the other style's defaults, download that version and select it instead. Both can sit in your shaderpacks folder at the same time.
Common problems
- The shader pack doesn't show up in the menu. Usually the file was unzipped, or it landed somewhere other than
shaderpacks. Check both, then refresh the menu.
- There's no Shaders or Shaderpacks option at all. No shader loader installed. Iris or OptiFine has to be in place before Minecraft has anywhere to load shader packs from.
- The installer won't run. Java isn't installed, or you're assuming Minecraft's Java will do the job. It won't: you need Java installed separately.
- Wrong build for your Minecraft version. Shader builds are version-specific. Match the download to the version you're launching.
- You put it in the mods folder. Shader packs go in
shaderpacks. It's an easy mistake when everything else you install goes in mods.
- Performance is rough. Expected with shaders. Drop to a lower profile rather than reinstalling. Updating your graphics drivers is also worth doing if you haven't in a while.
Anything not on that list is worth checking against our guide to shaders that are not working, which covers black screens, GPU selection and pack conflicts.